Photography is an art form that allows people to capture the beauty of everyday objects, transforming ordinary moments into extraordinary images. At the heart of this art is the mastery of light, and one of the most important tools for controlling light in photography is aperture. While beginners may find terms like aperture, shutter speed, and ISO intimidating, understanding them is key to creating stunning photographs.
In this article, we’ll focus on aperture—what it is, how it works, and how to use it effectively to enhance your photography. By the end, you’ll have a solid grasp of aperture and its impact on exposure and depth of field.
In this article, you will learn:
- What is aperture in photography?
- How aperture affects exposure
- How aperture impacts depth of field
- The relationship between aperture size and image quality
- Tips for selecting the right aperture for different shooting scenarios
What Is Aperture in Photography?
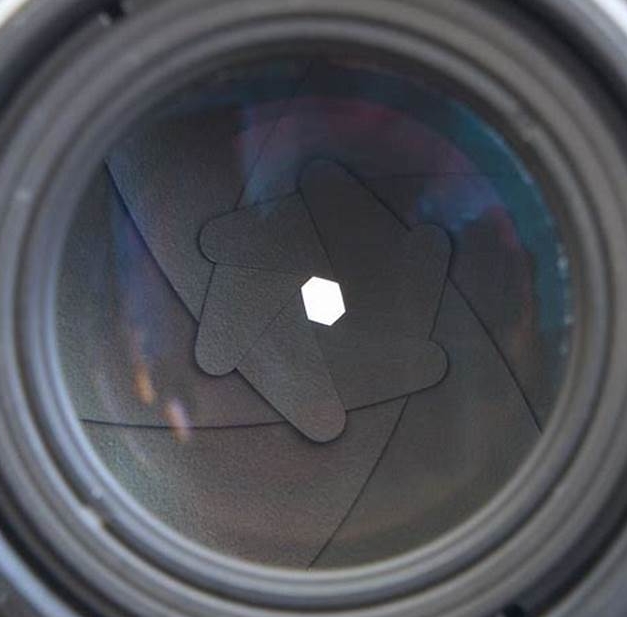
Aperture refers to the opening in a camera lens that controls the amount of light passing through to the camera’s sensor. In essence, it functions like the pupil of an eye, expanding or contracting to let in more or less light.
Aperture is measured in “f-stops,” such as f/2.8, f/4, f/5.6, and so on. These numbers may seem confusing at first, but they represent the ratio between the focal length of the lens and the diameter of the aperture opening. The lower the f-stop number, the wider the aperture and the more light that enters the camera. Conversely, a higher f-stop number means a smaller aperture and less light.
Key takeaway: Aperture controls how much light enters the camera, affecting the overall exposure of an image.

How Aperture Affects Exposure
Exposure refers to how much light the camera sensor captures, and aperture plays a critical role in determining exposure. A wider aperture (lower f-stop number) allows more light to reach the sensor, making the image brighter. A narrower aperture (higher f-stop number) lets in less light, resulting in a darker image.
For example, if you’re shooting in a dimly lit environment, you might want to use a wider aperture to let in more light and avoid an underexposed image. On the other hand, if you’re shooting in bright daylight, a narrower aperture can prevent overexposure.
Here’s how the f-stop values work:
- F1.0, F1.4, F2.0, F2.8, F4.0, F5.6, F8.0, F11, F16, F22, F32: Each f-stop lets in half the amount of light as the previous one. For instance, F4.0 lets in twice as much light as F5.6.
Aperture is just one of the three components of exposure, along with shutter speed and ISO. Together, these three factors form the “exposure triangle,” which is key to achieving a well-balanced photo.
How Aperture Affects Depth of Field
Depth of field refers to the area in an image that appears sharp and in focus. A wide aperture (small f-stop number) results in a shallow depth of field, where only a small portion of the image is in focus, and the background appears blurred. This effect is often used in portrait photography to isolate the subject and create a soft, dreamy background (also known as bokeh).
On the other hand, a narrow aperture (large f-stop number) produces a deep depth of field, where most of the scene, from foreground to background, is in focus. This is ideal for landscape photography, where you want all elements in the frame to be sharp and clear.
Examples:
- Portraits: Use a wide aperture like f/1.8 or f/2.8 for a shallow depth of field and a beautiful background blur.
- Landscapes: Use a narrow aperture like f/16 or f/22 to keep the entire scene, from foreground to background, in focus.

Aperture Size and Image Quality
While using extreme aperture settings (very wide or very narrow) can create unique effects, the sharpest image quality is usually achieved at mid-range aperture settings. This is because of two main factors:
- Diffraction: When the aperture is too small (high f-stop value), light waves bend around the aperture blades, causing a softening effect known as diffraction.
- Lens aberrations: When the aperture is too wide (low f-stop value), lenses may introduce distortions such as chromatic aberration and vignetting.
For most lenses, the sharpest image quality is usually found between f/4 and f/8. This is often referred to as the “sweet spot” of the lens.
Tips for Choosing the Right Aperture
When selecting the right aperture, consider what effect you want to achieve. Here are some common scenarios:
- Portraits and still life: A wide aperture (f/1.8 to f/2.8) is ideal for creating a shallow depth of field, which keeps the subject in sharp focus while blurring the background.
- Landscapes and architecture: A narrow aperture (f/11 to f/16) is best for maximizing depth of field, ensuring that both the foreground and background are in sharp focus.
- Low-light conditions: A wider aperture (f/2.8 or lower) can help capture more light, allowing for faster shutter speeds and minimizing the risk of motion blur.

Streamline Your Aperture Adjustments with Azilian Lifemotion
While manual adjustment of aperture is a skill every photographer should master, editing software also allows for post-processing tweaks. Shooting in RAW format preserves all image data, making it easier to fine-tune exposure, contrast, and other aspects of the image later.
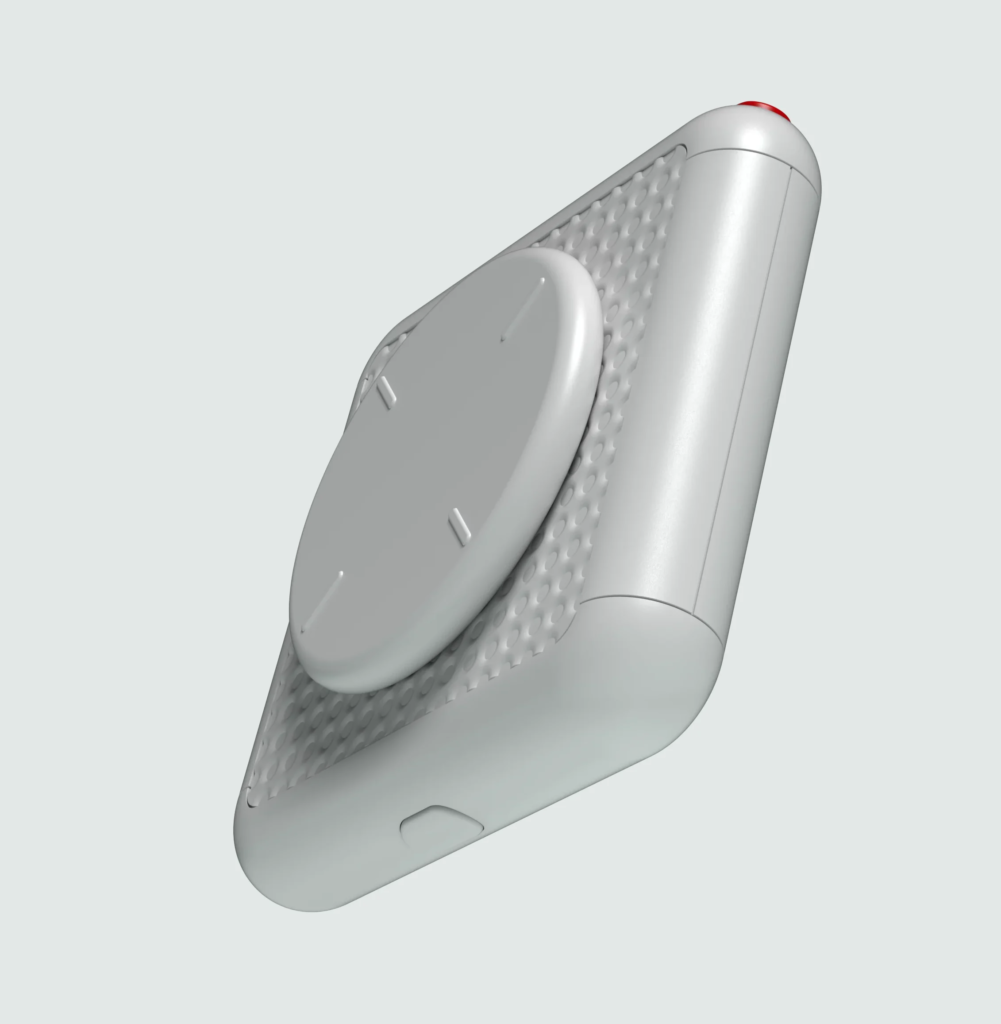
A powerful tool like Azilian Lifemotion can simplify your post-processing workflow. Its ergonomic design and intuitive controls make adjusting aperture settings, exposure, and other key factors easy, ensuring that your photos look their best, even after the shoot.
Whether you’re a beginner or a seasoned photographer, understanding aperture is essential to elevating your work. By mastering aperture settings, you can create striking images with stunning bokeh, sharp landscapes, and everything in between. Experiment with different f-stop values to discover the full potential of this versatile tool and transform your photography.
Now that you’ve gained a solid understanding of aperture, it’s time to grab your camera and start experimenting with different settings.


